Free Guide to Snail Mail Art: Creative Decoration Ideas for Your Next Letter
Jump to Section
What is Mail Art?
Mail art, also known as "postal art," is a creative movement where the envelope and the letter itself become the medium of expression. Unlike standard correspondence, mail art treats the journey through the postal system as part of the artistic process. It is a way to bridge the gap between digital convenience and physical connection, turning a simple 5-cent stamp and a paper slip into a curated experience for the recipient.
The beauty of mail art lies in its accessibility. You don’t need an MFA or expensive oils to participate. All you need is the desire to make someone’s trip to the mailbox the highlight of their day. Whether you are sending a letter to a long-distance partner or a pen pal in a different country, decorating your mail adds a layer of intentionality that emails simply cannot replicate.
Essential Supplies for Beginners
Starting your mail art journey doesn't require a massive investment. Most artists begin with items they already have around the house. However, a few specific tools can make the process much more enjoyable and durable for the rigors of the sorting machine.
- Fine-liner Pens: Waterproof pens (like Micron or Uni-ball) are essential so your art doesn't smudge if it gets caught in the rain.
- Washi Tape: This decorative Japanese masking tape is perfect for sealing edges or creating colorful borders.
- Stickers and Ephemera: Scraps of paper, vintage tickets, and botanical stickers add instant texture.
- Watercolors or Gouache: Great for adding washes of color to the background of an envelope.
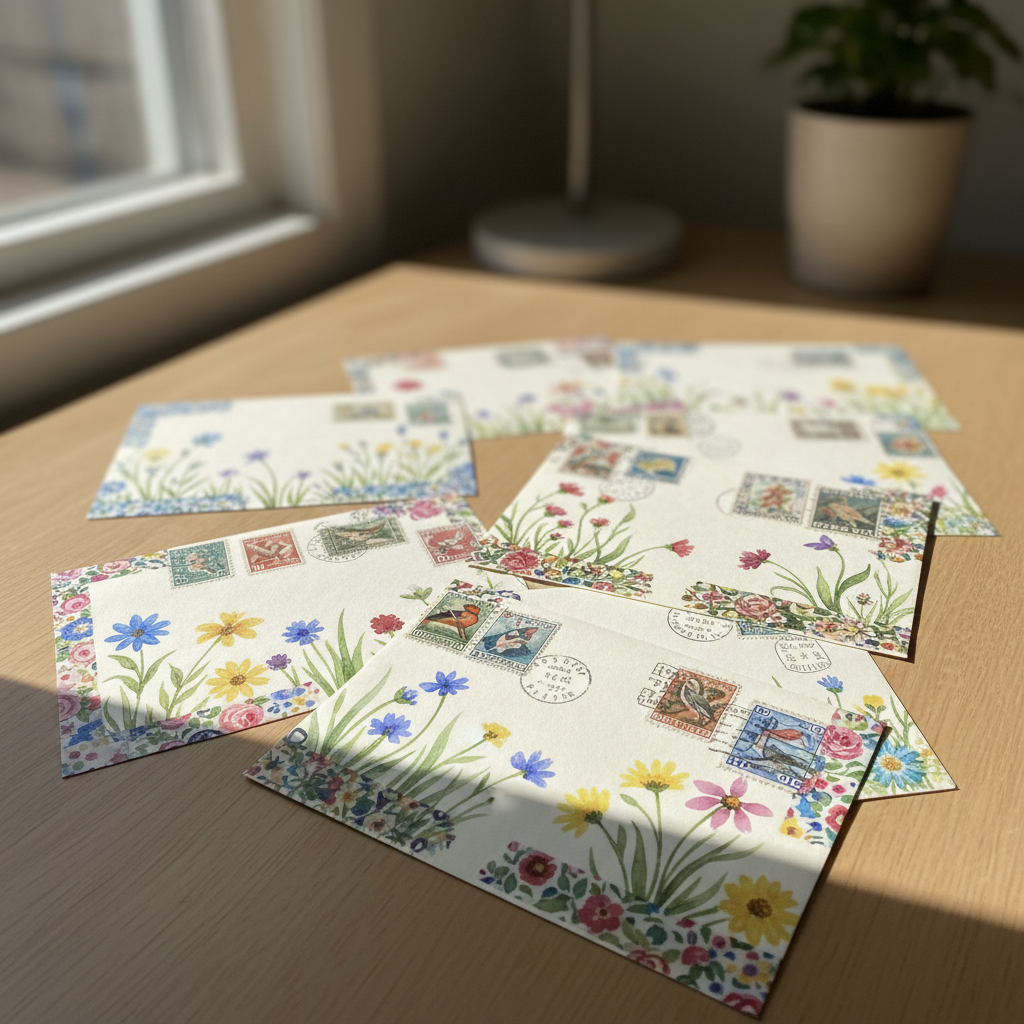
Turning Envelopes into Canvas
The envelope is the first thing your recipient sees. Instead of a plain white surface, think of it as a blank canvas. You can use broad strokes of watercolor to create a sunset background, or use stamps to create a repeating pattern across the entire surface. When decorating the front, always remember to leave a clear, legible space for the recipient's address and the return address.
One popular technique is "Address Art," where the name of the recipient is integrated into the design. For example, you might draw a vine where the leaves form the letters of their name. Just ensure the zip code remains block-printed and easy for postal scanners to read.
Hand Lettering and Calligraphy
You don't need to be a master calligrapher to create beautiful text. "Faux calligraphy" is a popular technique where you write in your standard cursive and then thicken the "downstrokes" of each letter to mimic the look of a dip pen. This gives your letters a professional, elegant feel without the need for specialized nibs and ink.
Varying your fonts can also create visual interest. Try mixing a bold, blocky sans-serif font for the street address with a flowing script for the recipient's name. Contrast is the key to making your mail art "pop."
Vintage Collage Techniques
Collage is perhaps the most traditional form of mail art. By layering different materials, you can create a narrative on the envelope. Look for old magazines, book pages, or even interesting packaging from your pantry. The juxtaposition of old-world aesthetics (like a 1920s map) with modern elements (like neon washi tape) creates a "maximalist" look that many pen pals love.
When collaging, use a high-quality glue stick or double-sided tape. Avoid using "puffy" stickers or items with too much height, as these can get snagged in the automated sorting machines used by postal services around the world.
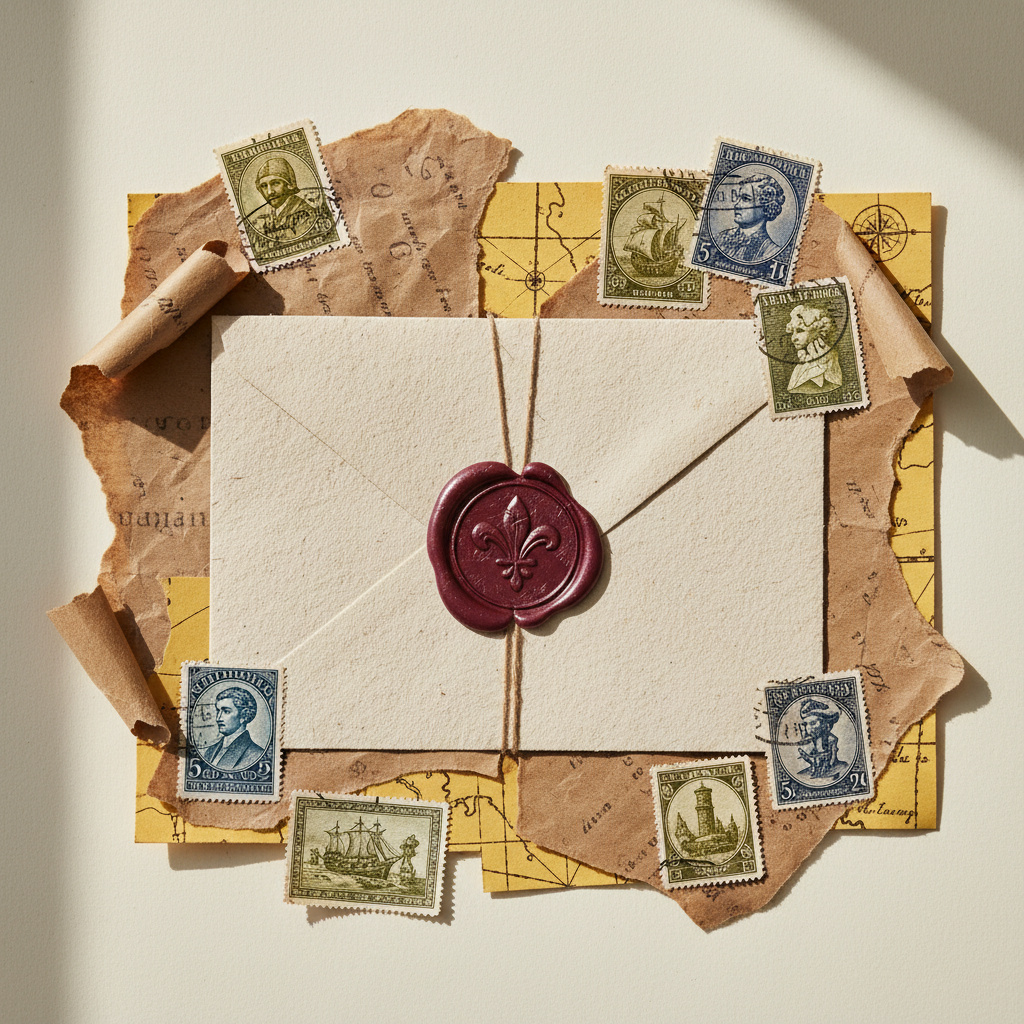
Wax Seals and Finishing Touches
If you want to add a touch of "old-world" mystery, nothing beats a wax seal. While traditionally used to ensure a letter hadn't been tampered with, today they serve as a beautiful signature. You can find wax beads in every color imaginable, from metallic gold to matte forest green. Pro tip: If you are worried about the wax breaking in the mail, place the wax-sealed envelope inside a second, larger "outer" envelope for protection.
Important Postal Regulations
Before you drop your masterpiece in the blue box, there are a few rules to follow to ensure it actually reaches its destination:
- Legibility: The delivery address must be clear. If your background is dark, use a white ink pen or a light-colored sticker for the address.
- Flatness: Standard letters should be relatively flat. If your envelope is lumpy or over 1/4 inch thick, it may require "non-machinable" postage.
- Stamp Placement: The postage stamp should always go in the top right corner. Avoid covering the stamp with tape, as this can invalidate it.
Frequently Asked Questions
Usually not, as long as it remains flat and within the standard weight limit (usually 1 oz). However, if you add heavy charms or thick wax seals, you may need a "non-machinable" stamp.
An acid-free glue stick or a permanent tape runner is best. Avoid liquid school glue, as it can cause the paper to wrinkle or "buckle."
Yes! As long as the address and stamps are visible, postal services generally encourage decorated envelopes.