In an era dominated by instant notifications and digital noise, the tangible charm of a handwritten letter remains unparalleled. Starting a neighborhood snail mail exchange isn't just about stamps and envelopes; it’s about weaving a tighter social fabric within your local community. This guide provides a comprehensive roadmap to transforming your street into a vibrant network of pen pals.
Why Start a Neighborhood Mail Exchange?
A neighborhood mail exchange offers several unique benefits that digital platforms like Nextdoor or Facebook groups simply cannot replicate. First and foremost, it encourages intentionality. Taking the time to sit down, select stationery, and write a thoughtful message creates a sense of connection that a "like" button never will.
Furthermore, it bridges the generational gap. Many elderly neighbors may feel alienated by modern technology but are masters of the handwritten note. Conversely, children in the neighborhood can practice their literacy and penmanship skills while learning the value of patience. By organizing an exchange, you are creating a low-pressure way for neighbors of all ages to interact safely and meaningfully.
Step 1: Defining Your Scope and Boundaries
Before you print your first flyer, you need to decide how large you want your exchange to be. A "neighborhood" can mean many things. Are you focusing on a single apartment building? One specific cul-de-sac? Or an entire four-block radius?
We recommend starting small. A tight-knit group of 10-15 households is much easier to coordinate than a 100-person operation. If the interest is overwhelming, you can always split the group into smaller "mail circles" or sub-groups based on interests or street names.
Step 2: Choosing the Right Exchange Format
There are several ways to structure your mail exchange. Choosing the right one depends on the level of commitment your neighbors are willing to make:
The Classic Pen Pal Pair: Match neighbors 1-on-1. They write to each other exclusively for a set period (e.g., three months) before you shuffle the partners.
The Round Robin: Person A writes to B, B writes to C, and C writes to A. This ensures everyone receives mail from different sources and keeps the content fresh.
The Monthly Theme: Each month, you provide a prompt (e.g., "Your favorite childhood memory" or "Best local hidden gem"). Neighbors then mail their response to a randomly assigned partner for that month.
Step 3: Recruiting Your First Participants
Once you have a plan, it’s time to find your mail-mates. Traditional methods often work best for this kind of analog hobby. Create a simple, colorful flyer that explains the concept. Be sure to highlight that it is free to join (aside from the cost of a stamp).
Post these flyers on community mailboxes, local coffee shop bulletin boards, or slip them under doors. In your flyer, include a clear "Call to Action," such as a QR code leading to a simple Google Form or a physical drop-off box for sign-up slips at your porch.
Step 4: Establishing Rules and Privacy Guidelines
To ensure the exchange remains a positive experience for everyone, you must establish clear ground rules. Privacy is usually the biggest concern. Since this is a neighborhood-based group, participants should be comfortable sharing their addresses with the organizer, but you should clarify how that data will be used.
Consider these standard rules:
Frequency: Commit to at least one letter per month.
Content: Keep it kind and non-political to foster a welcoming environment for all.
Opt-out: Make it easy for people to leave the group if they no longer have time to participate.
Anonymity (Optional): Some groups prefer to use "Mail Names" or pseudonyms for a fun, mystery-themed exchange.
Step 5: Keeping the Momentum Alive
The biggest challenge for any snail mail club is the "drop-off" after the initial excitement wears off. As the organizer, your role is to act as the heartbeat of the group. Send out a monthly email or text newsletter with "Letter Writing Prompts" to inspire those who might be facing writer's block.
You can also host occasional "Sticker Swaps" or "Stationery Socials" at a local park. These face-to-face meetups allow neighbors to trade decorative supplies and talk about the letters they’ve received, reinforcing the community bond that the mail exchange started.
Frequently Asked Questions
How many neighbors do I need to start?
You can start with as few as three people. Small groups are often easier to manage initially, allowing you to refine the rules before scaling up to a larger street or block.
Is it safe to share home addresses?
Safety is paramount. For neighborhood exchanges, participants already live nearby. However, we recommend vetting participants through a local platform like Nextdoor or a verified neighborhood association list.
What if someone doesn't reply?
It happens! We recommend setting a "grace period." If someone misses two months in a row, the organizer should reach out privately to see if they want to take a break from the exchange.
Do I need to buy expensive stationery?
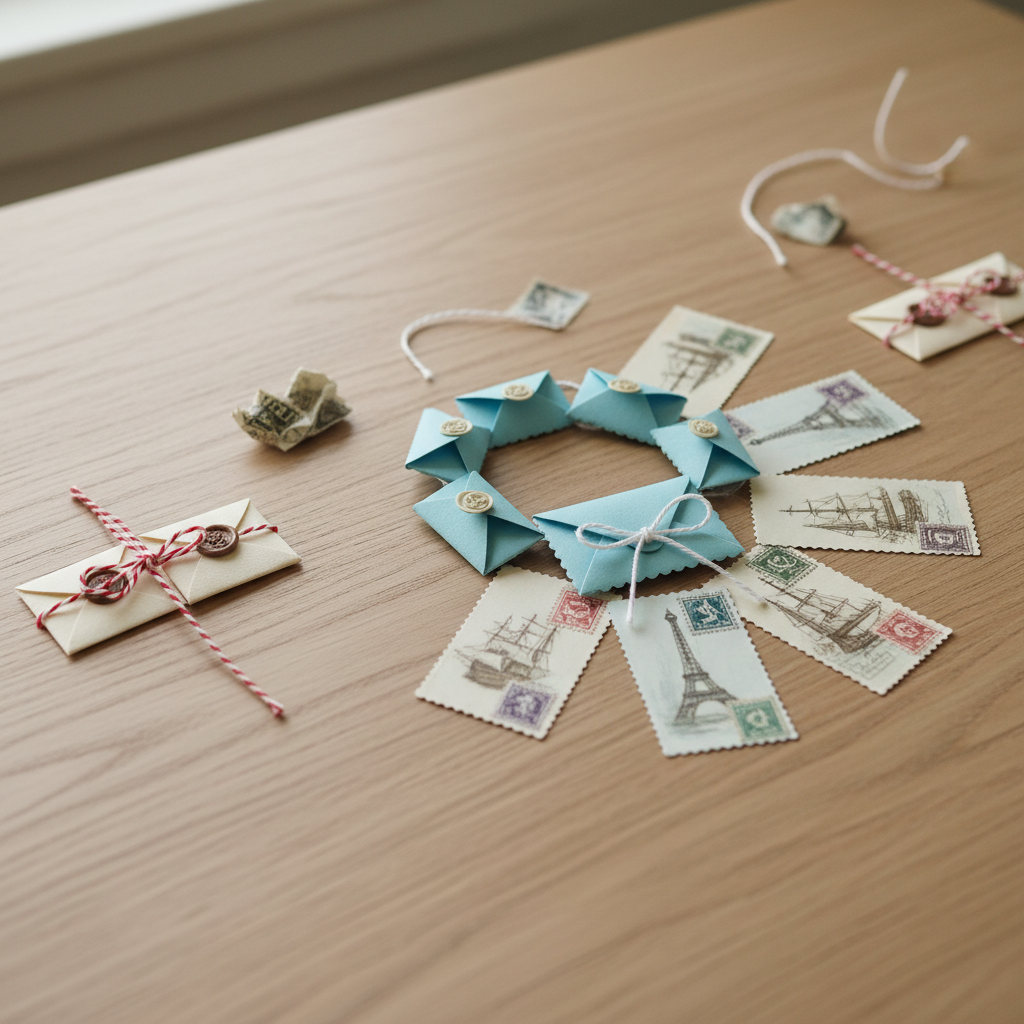
Not at all. Part of the charm of neighborhood mail is its authenticity. A simple piece of notebook paper or a handmade postcard from a cereal box can be just as meaningful as expensive parchment.
As an Amazon Associate I earn from qualifying purchases. Disclaimer: The content on snailmailclubs.com is for informational and entertainment purposes only. All DIY projects and product purchases are undertaken at your own risk. Buyer beware.
💝Gratuity Box
If you found this guide helpful, consider leaving a tip!